Filter by topic
Sign up & card ordering process
Bridge Bit is an invite only opportunity. Please ask the person who introduced you to Bridge Bit for his/her Partner Link that can be found in the Partner section of his/her Bridge Bit dashboard.
After clicking on the Partner Link you will be prompted to fill out the form shown below:
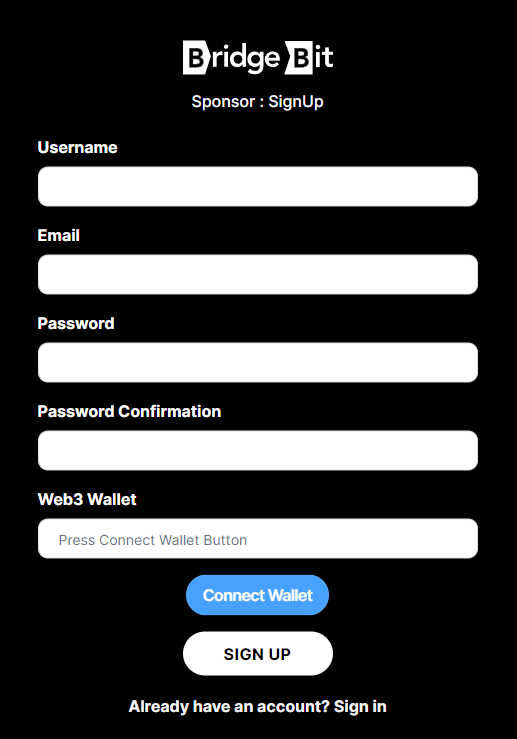
Please make sure that the correct Sponsor username is showing at the top.
- Create a username
- Enter your email address
- Create a strong password
- Confirm your password
The Connect Wallet feature is optional. However, it enables you to do Web3 top ups using your decentralized wallets like MetaMask or Tokenpocket.
Click Connect Wallet and choose your wallet.
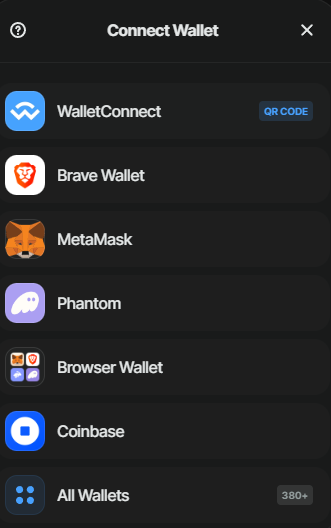
Make sure that your Web3 wallet is connected to the network you want to use. Binance Smart Chain and Polygon/Matic were added from the start. By the time you read that tutorial, more networks might be available.
Once connected, you will see your address in the Web3 Wallet box.
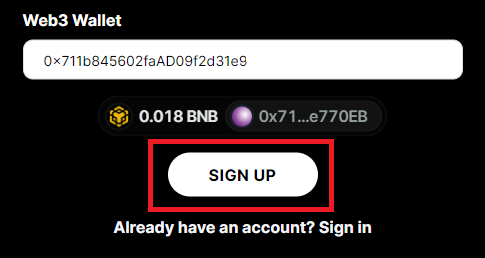
Please now click Sign Up.
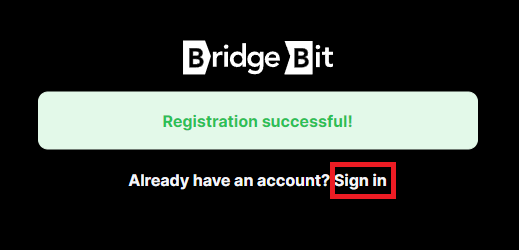
Please click Sign In.
You will now have two options to sign in:
- Email and password
- Web3 Wallet Sign In
KYC Process
Once signed in, you will be directed to the KYC page.
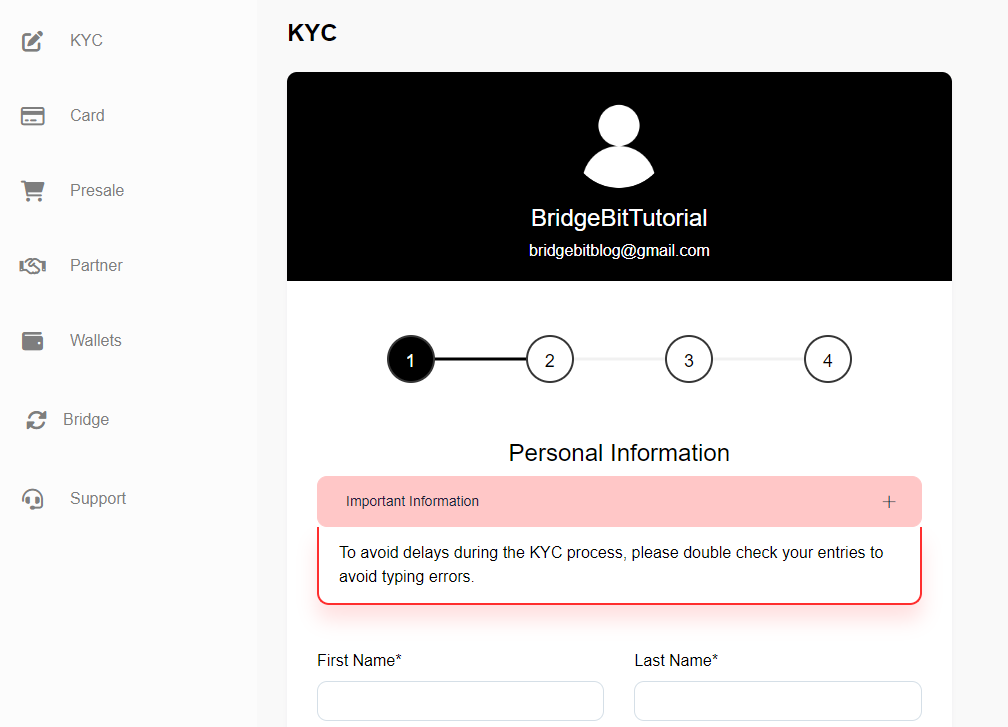
Fill out all the boxes in STEP 1 and click Submit.
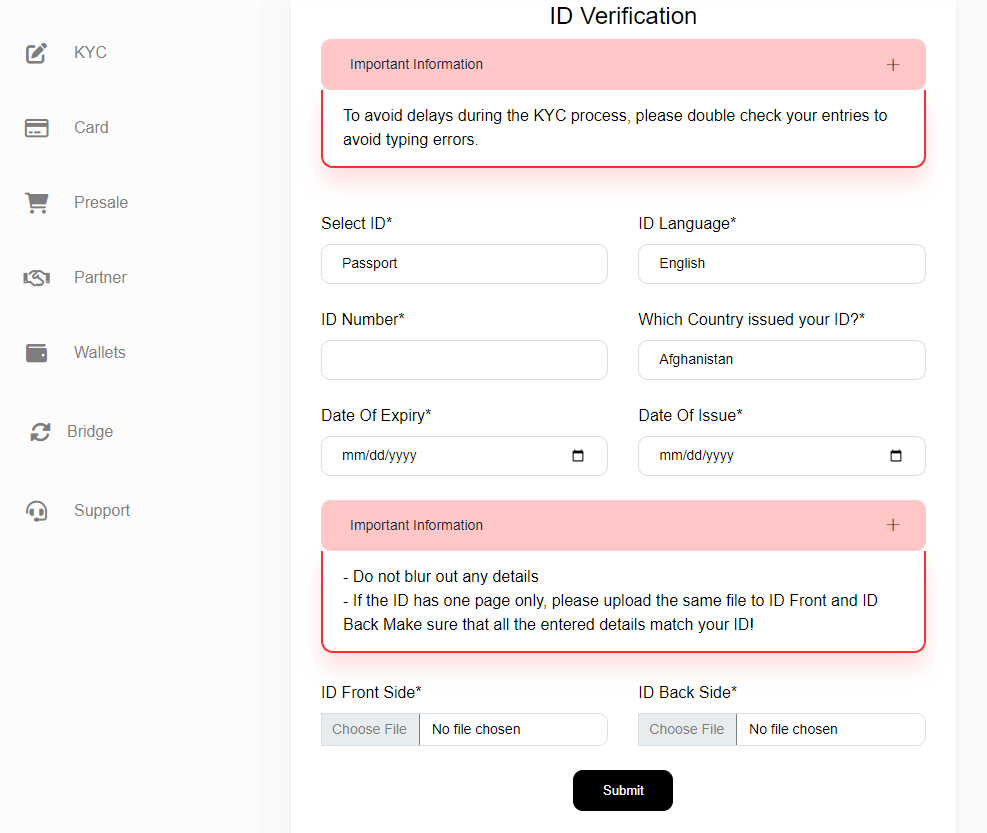
Fill out your details in STEP 2 and upload your documents.
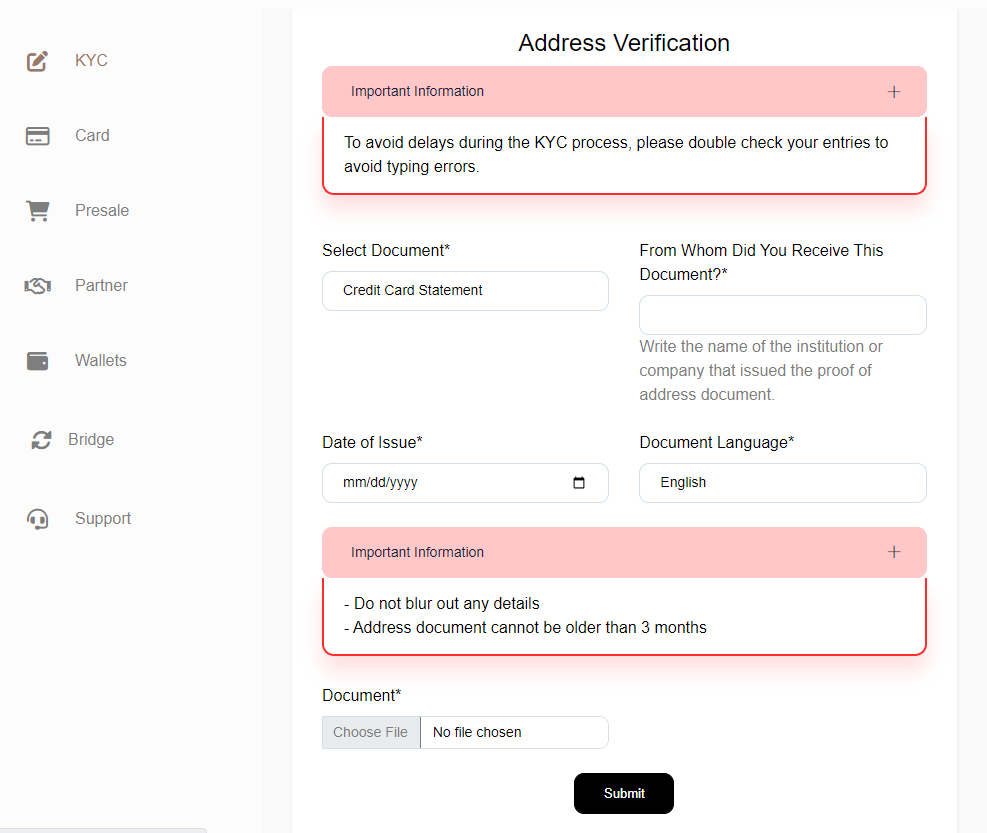
Fill out your details in STEP 3 and upload your documents.
You will now be directed to STEP 4:
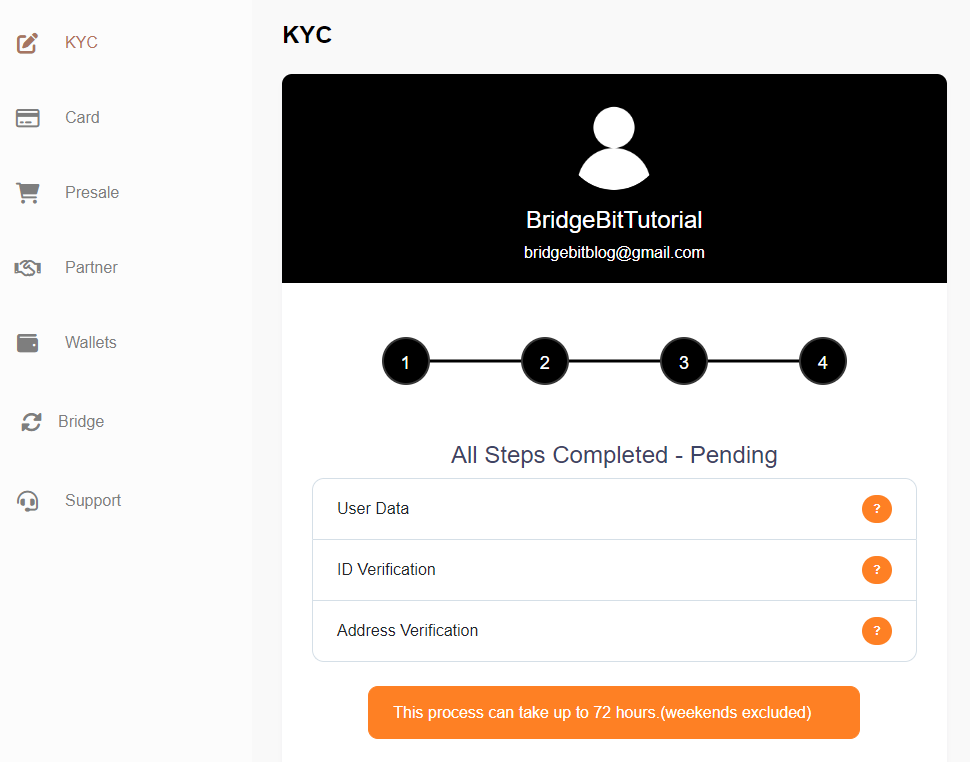
It can take up to 72 business hours until your KYC is approved.
Card Ordering Process
Navigate to the Presale page.
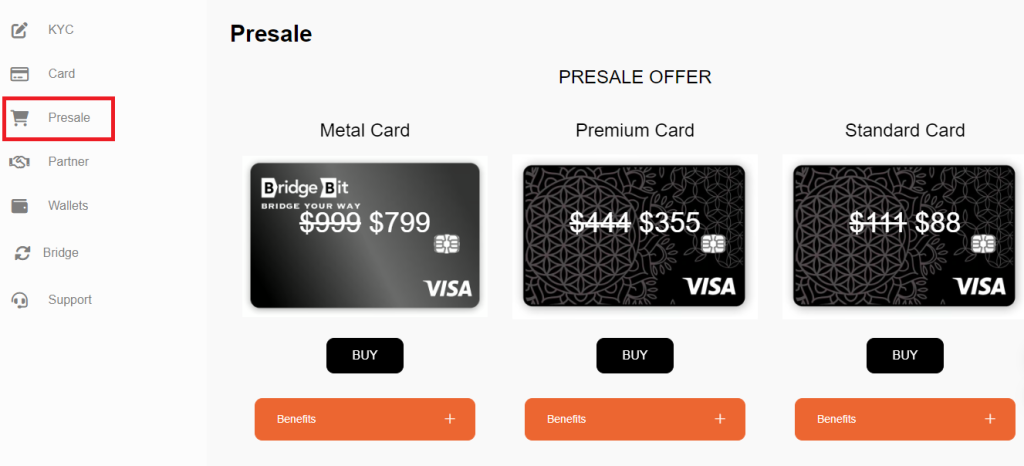
Also here you have two options to BUY the card:
- Web3
- Manual payment
Web3
Connect your decentralized wallet and click BUY. Confirm your purchase in your wallet.
Manual
Click BUY and select the Blockchain you want to use.
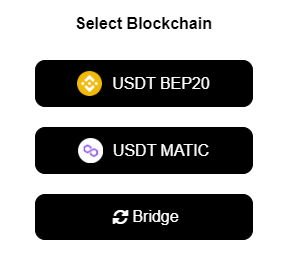
If you’re looking for networks outside of BEP20 (Binance Smart Chain) and MATIC, please click Bridge.
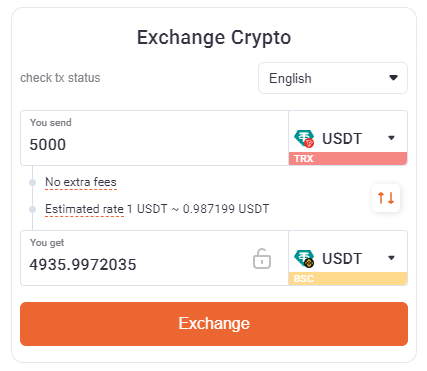
Enter your Recipient Wallet and click NEXT.
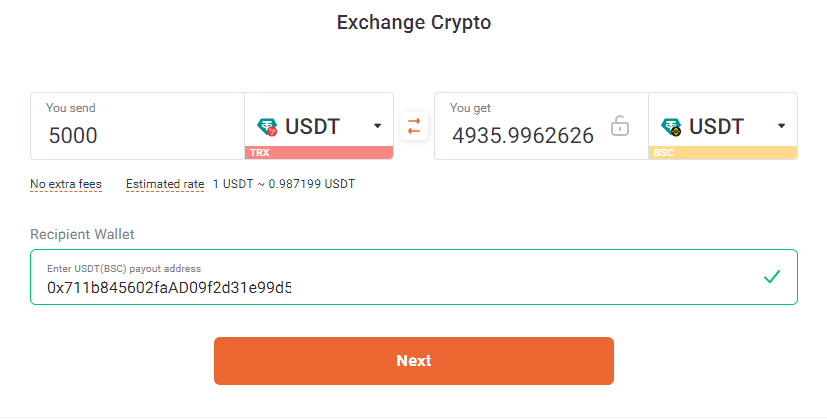
Now click EXCHANGE
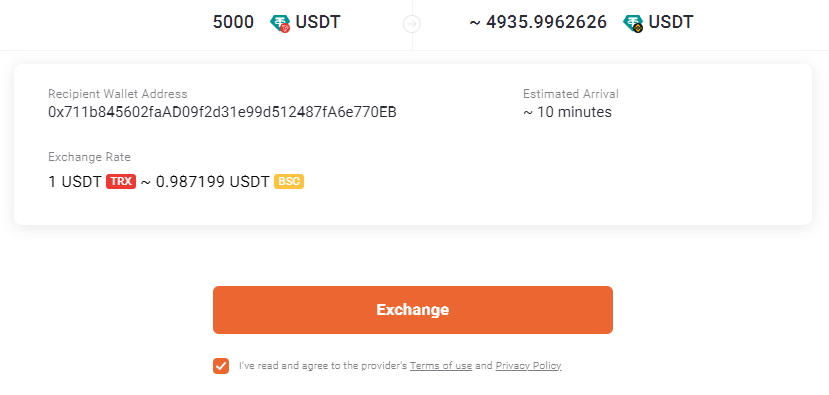
Follow the steps that will be shown.
Once you have completed all steps, your funds will arrive on the wallet you entered.
Let’s have a look at how to order your card using the USDT BEP20 option.
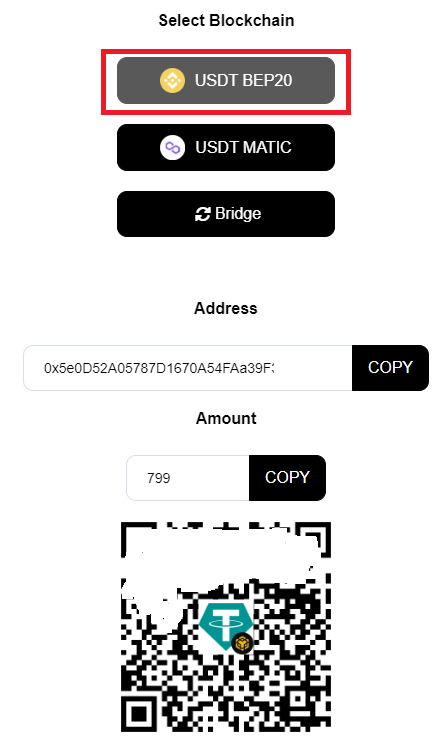
Click on USDT-BEP20. Copy the address or use the QR code to send the funds. Please send the exact amount that will be shown.
It will take approximately 2-3 business days until you receive your card!
Virtual & physical cards activation and top ups
Once you have received your physical card, you can start the activation process.
Please navigate to the PHYSICAL CARD section.
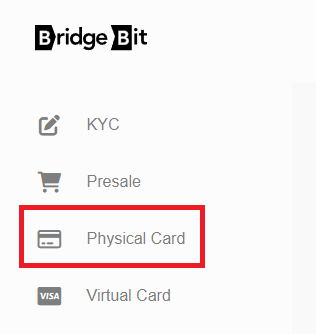
The first thing you will be asked to do, is to set up your 4 digits PERSONAL PIN.
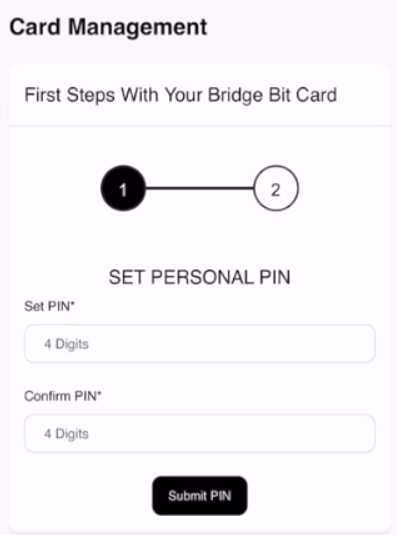
Enter your desired PIN and click «Submit PIN». Make sure that you select a PIN that you can memorize. That will also be your PIN for ATM withdrawals.
Now you are ready to activate and top up your card.
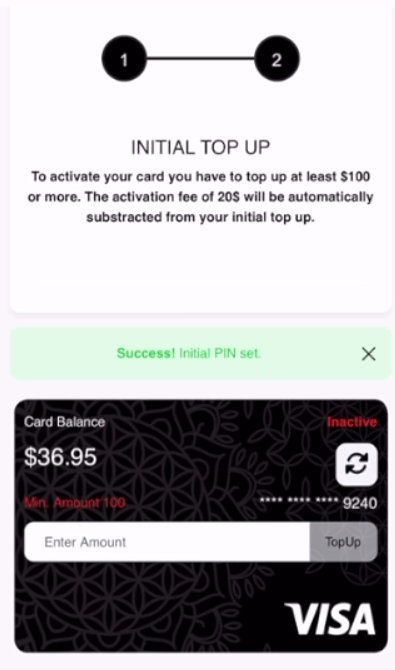
To activate your card you have to do a top up of at least 100$. The activation fee of 20$ will be deducted from your initial top up automatically.
To top up your balance you will now have two options:
- Web3 payment using your decentralized wallet
- Manual payment by sending money to the address shown
Web3
Connect your wallet, enter amount and click TopUp. Two approvals will be needed in the decentralized wallet.
Manual
Choose the network you want to use, BEP20 or Polygon/MATIC.
If you’re looking for other networks, please click Bridge.
Enter amount, click TopUp and the USDT amount will be shown.
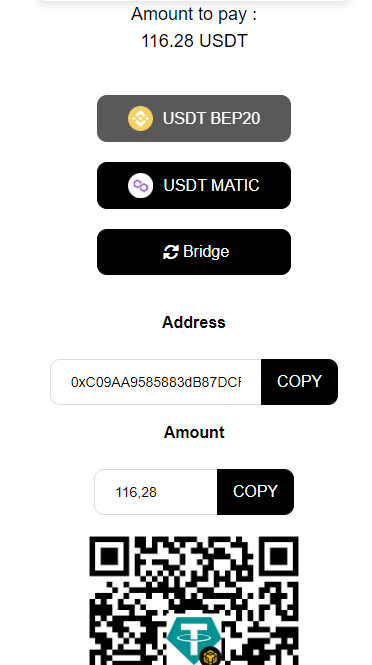
Copy the address or use the QR code to send the funds. Please send the exact amount that will be shown.
The Top Up process can take up to 5 minutes!
Please log into your Bridge Bit dashboard and navigate to Virtual Card.
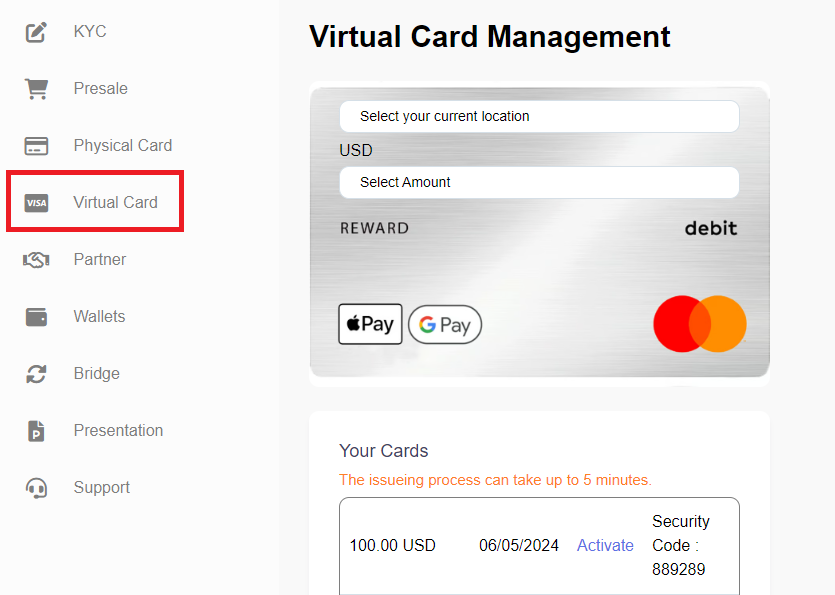
Select your current location.
Tap on SELECT AMOUNT to choose one of the pre-defined amounts of 100/250/500/1000 Euros.
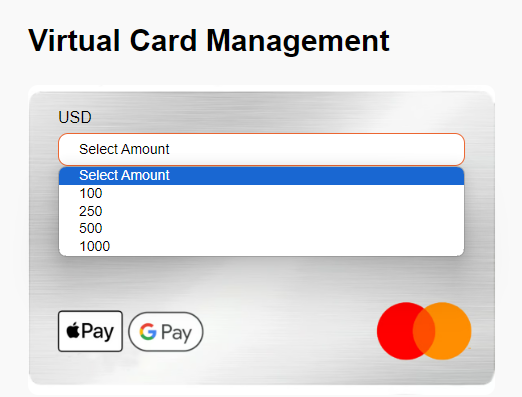
To pay the amount selected you will now have two options:
- Web3 payment using your decentralized wallet
- Manual payment by sending money to the address shown
Web3
Connect your wallet and click ISSUE CARD. Two approvals will be needed in the decentralized wallet.
Manual
Choose the network you want to use, BEP20 or Polygon/MATIC.
If you’re looking for other networks, please click Bridge.
Click ISSUE and the USDT amount will be shown.

Copy the address or use the QR code to send the funds. Please send the exact amount that will be shown.
The issuing process can take up to 5 minutes.
A 6-digit security code will be shown:
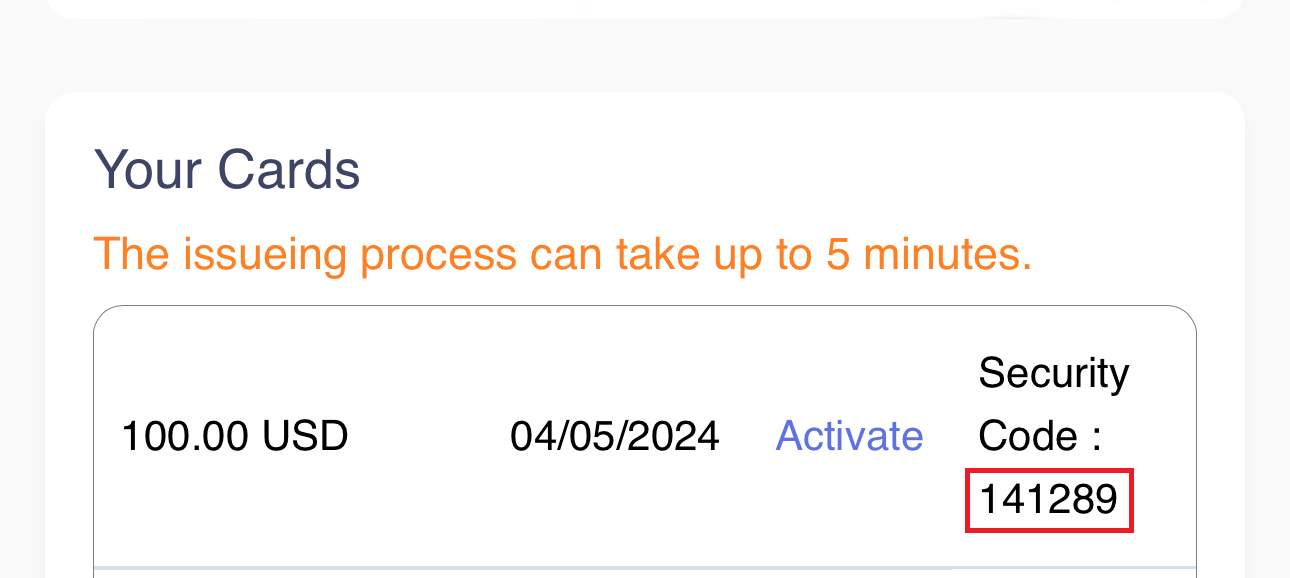
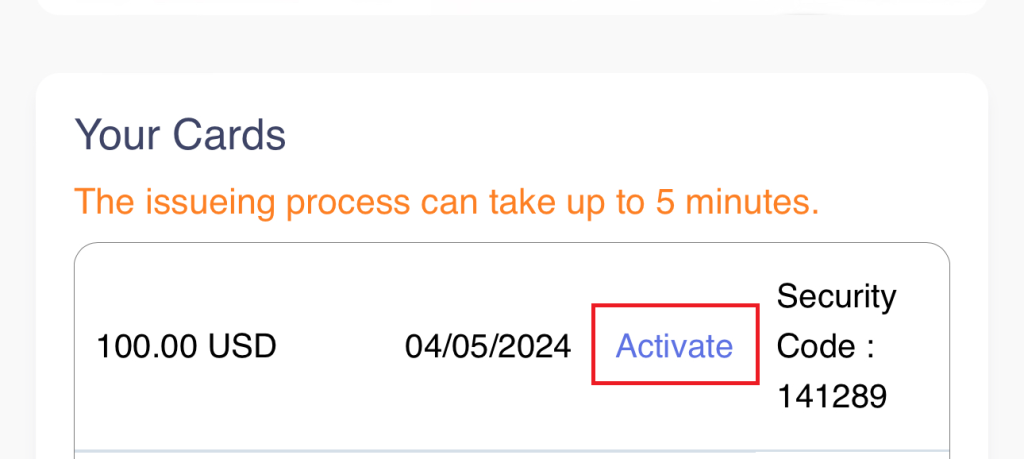
Click ACTIVATE:
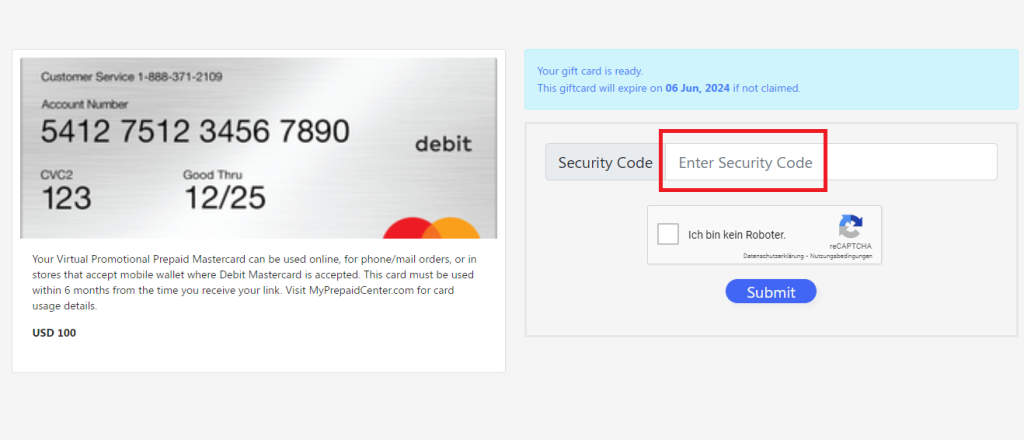
The following screen will pop up and ask you to enter your 6-digit Security Code:
Your unique Gift Card code will be displayed.
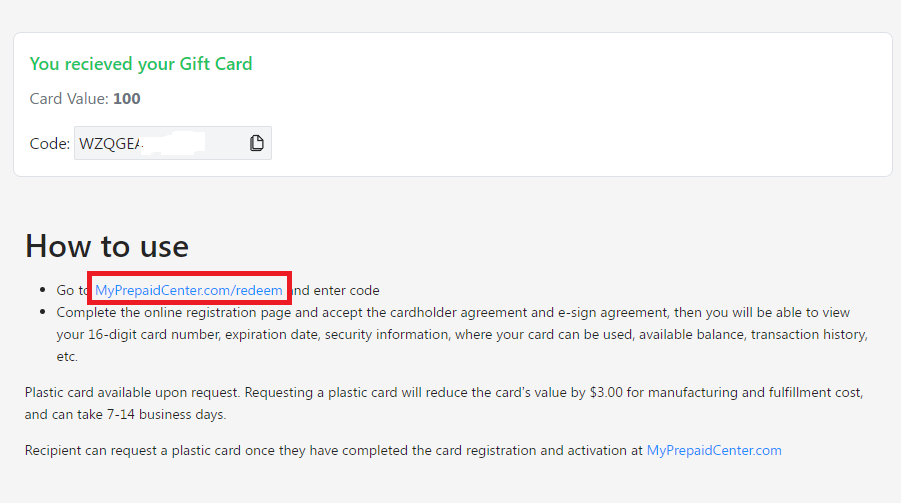
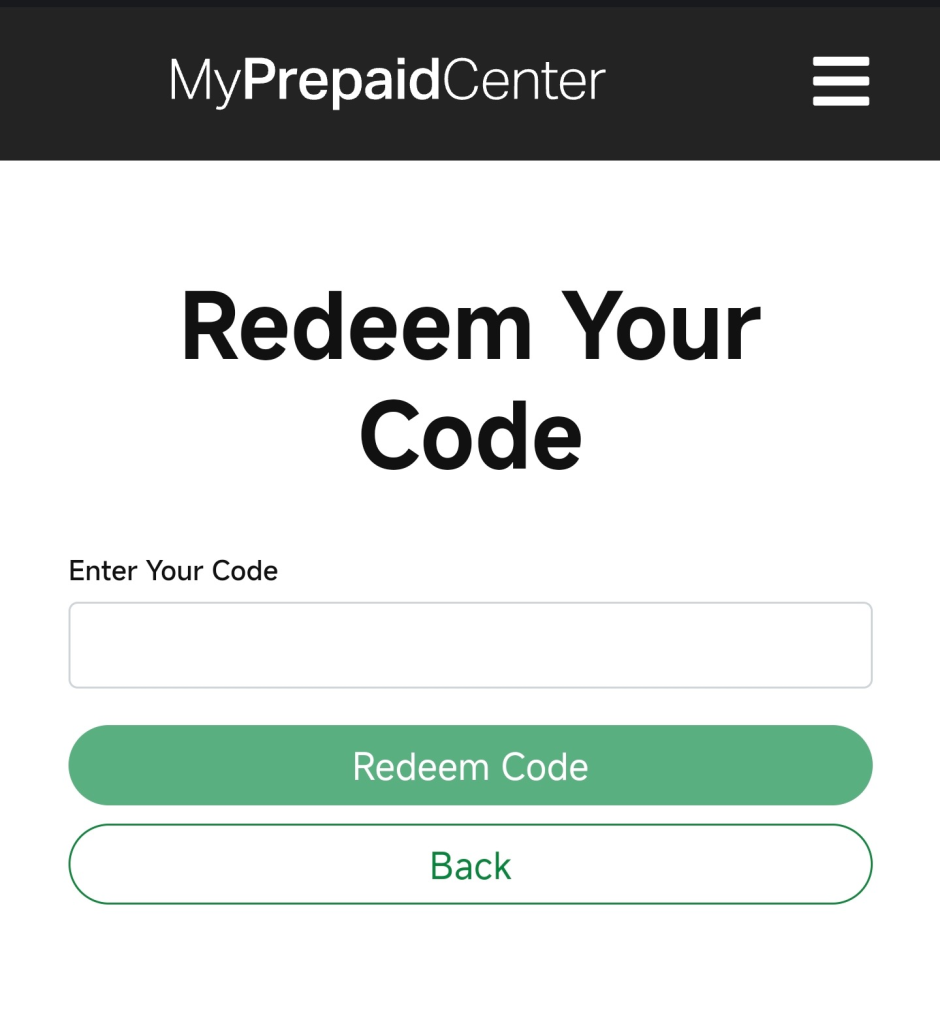
Grab the code and go to http://www.myprepaidcenter.com/redeem.
Enter Your Code and click REDEEM CODE.
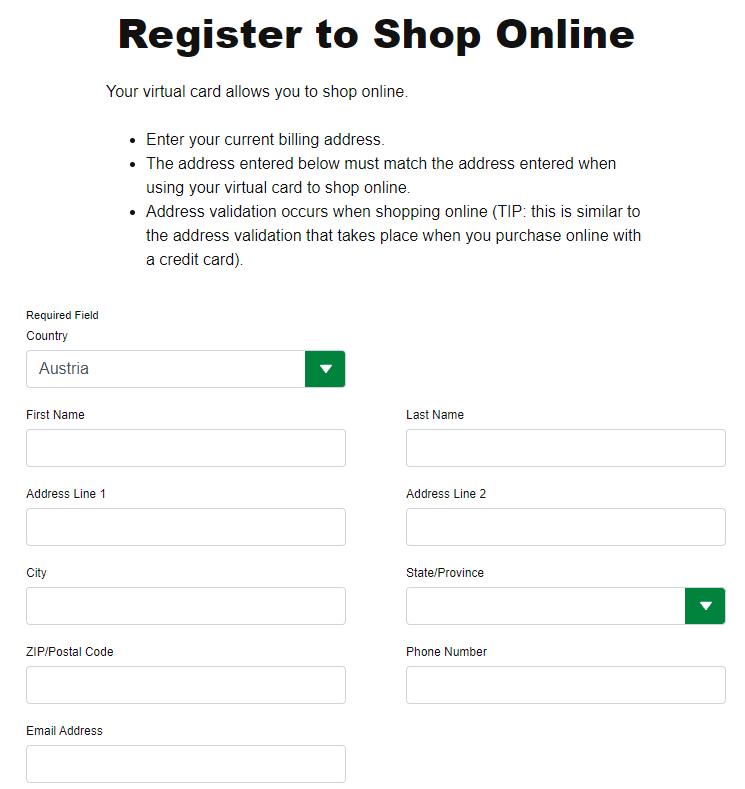
Enter your personal data into the form displayed below.
You don’t have to enter your real data!
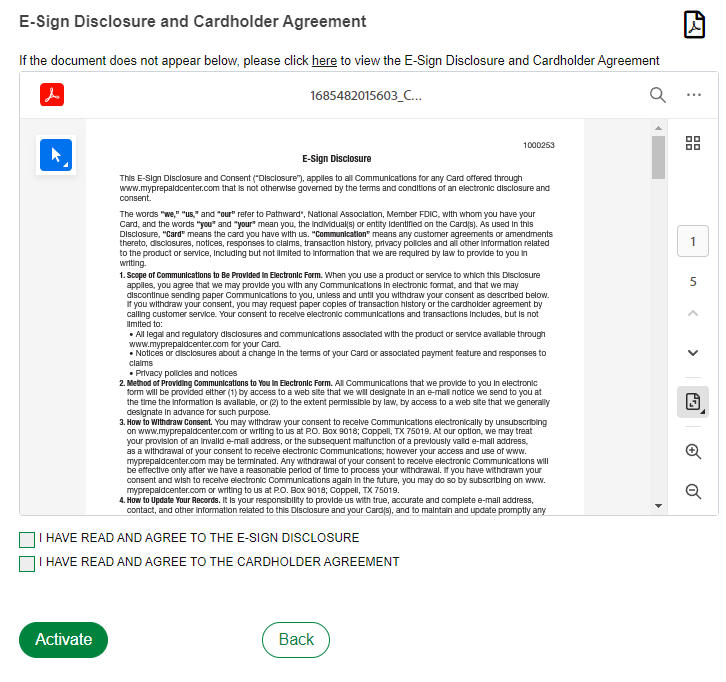
Accept the terms and click ACTIVATE.
Your virtual card is now ready to use:
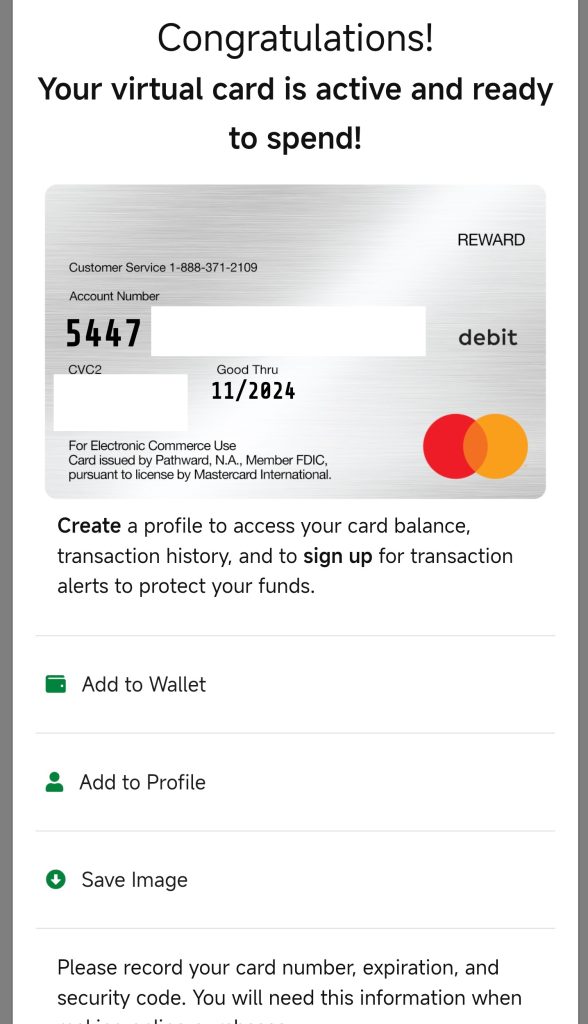
Click «Add to Wallet» to add your card to Apple Pay or Google Pay.
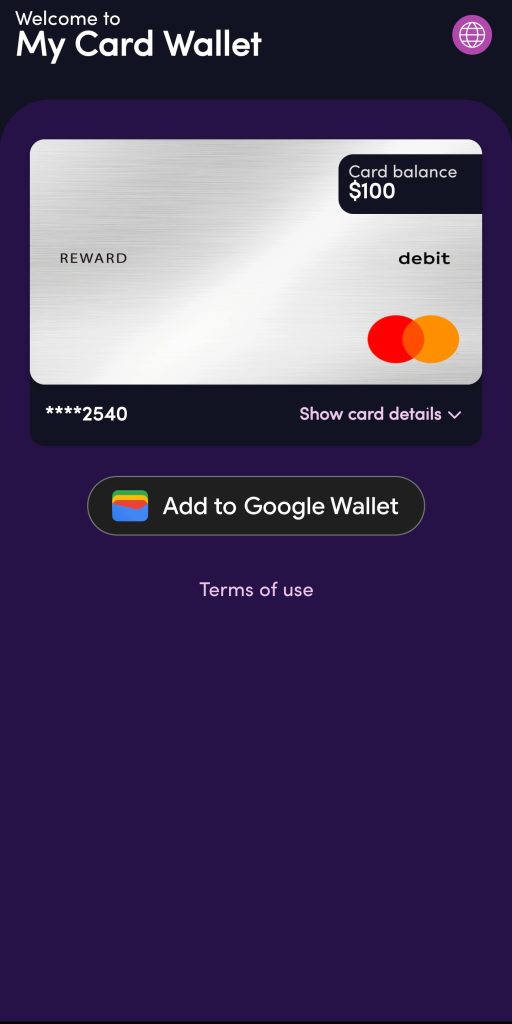
Click «Add to Google Wallet». Done!
Alternatively you can add your card to Apple Pay / Google Pay manually:
Apple Pay
To add your card to Apple Pay just open the Wallet App and hit the PLUS button in the upper right corner.
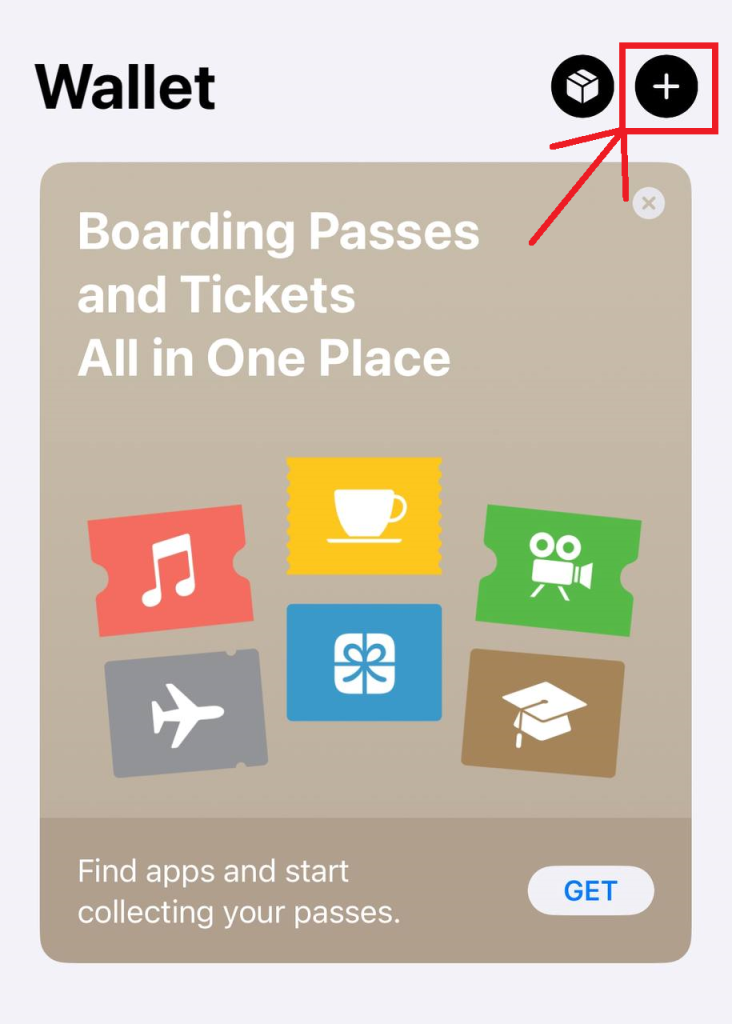
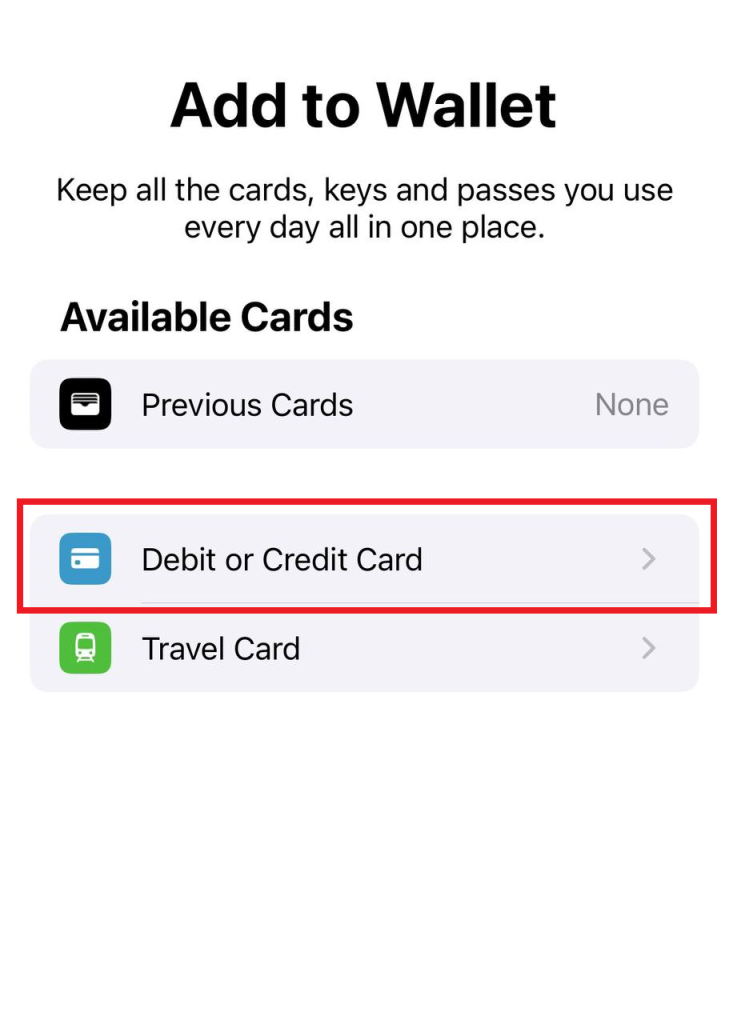
Choose DEBIT OR CREDIT CARD.
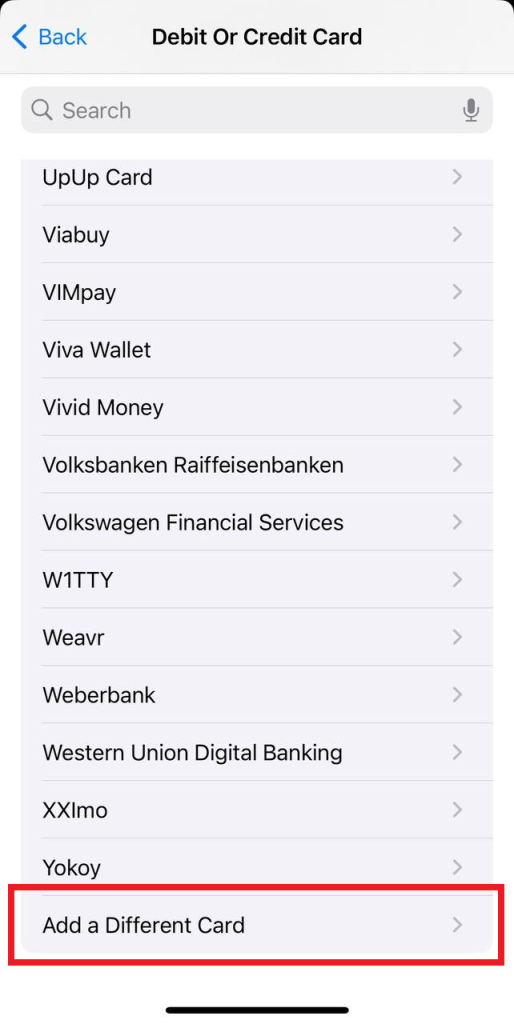
Scroll to the very bottom and click ADD A DIFFERENT CARD.
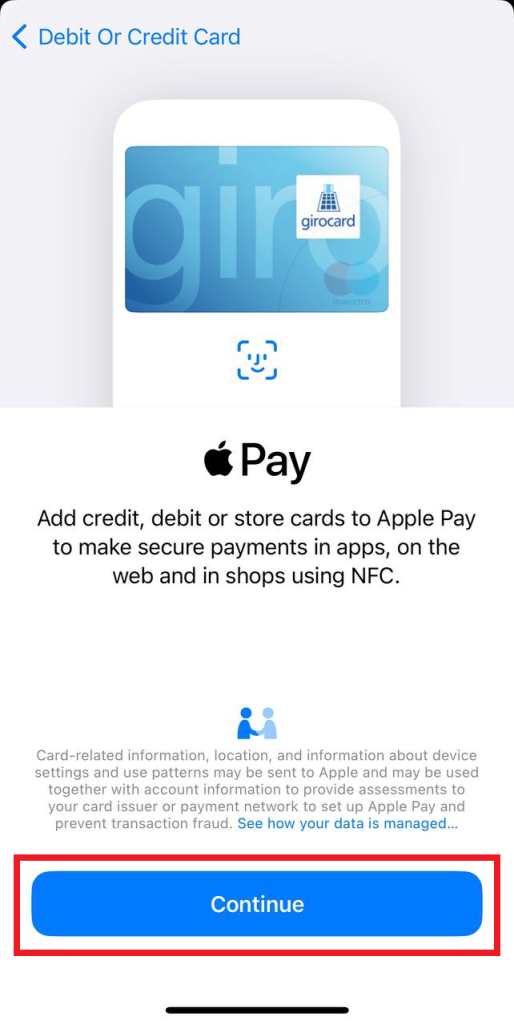
Now press CONTINUE.
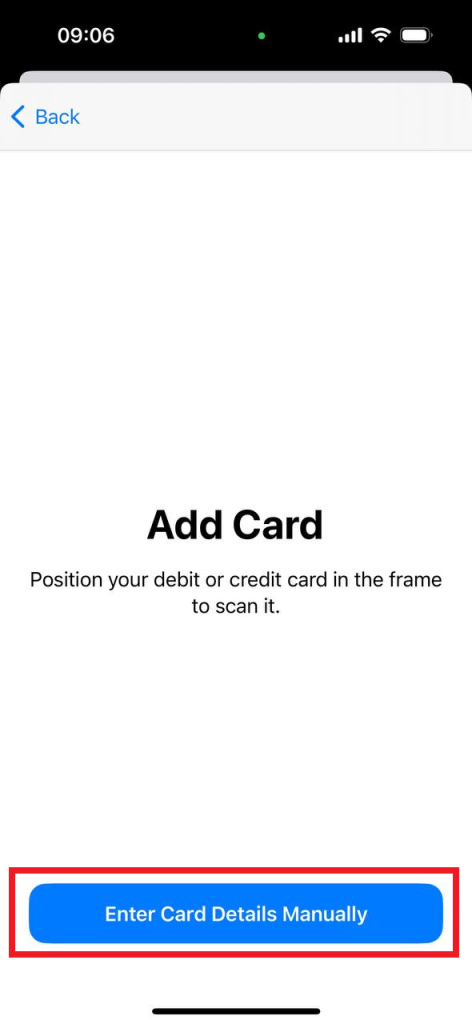
Now press ENTER CARD DETAILS MANUALLY or SCAN YOUR CARD.
Enter your NAME and 16 digit CARD NUMBER
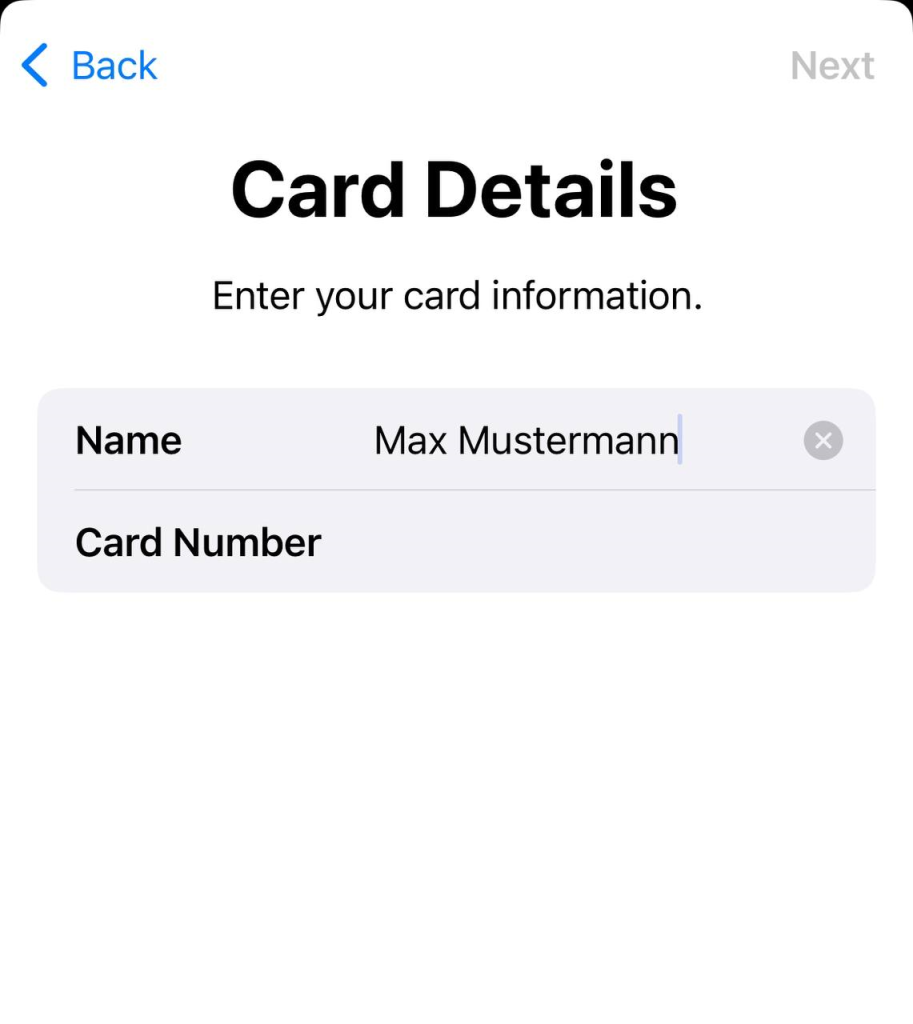
Click NEXT.
Enter EXPIRY DATE and SECURITY CODE.
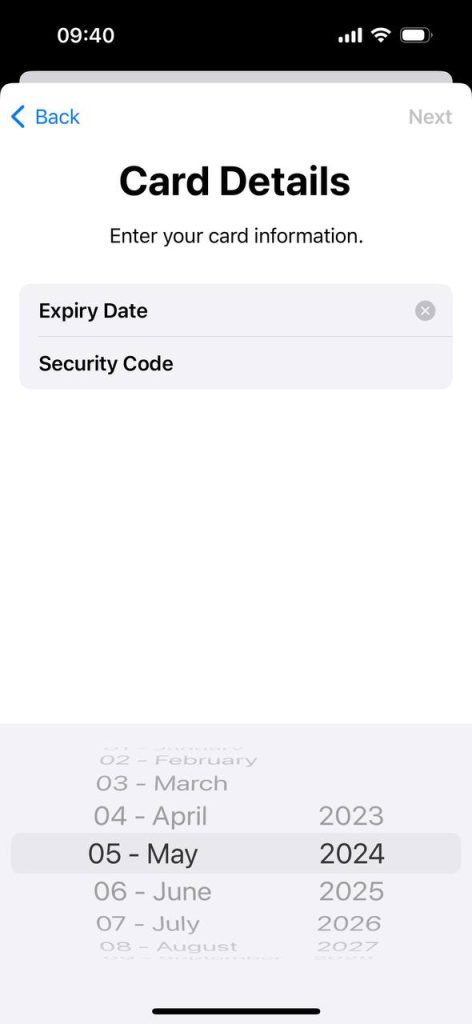
Click NEXT!
Done!
Google Pay
- Open the Google Wallet app .
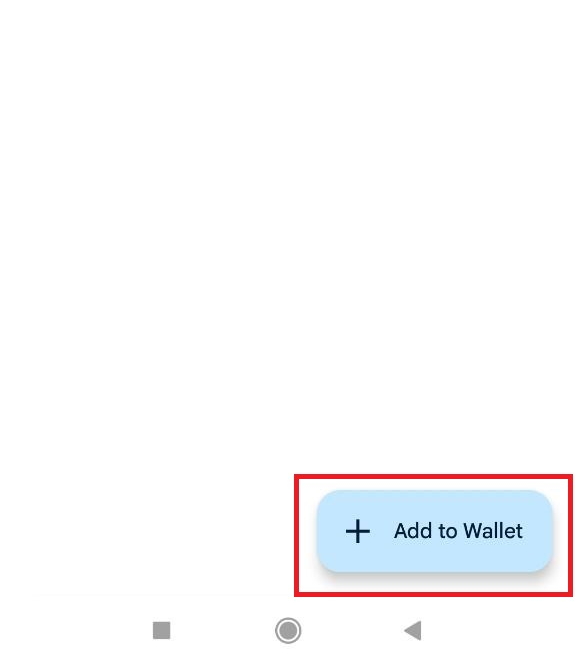
- At the bottom, tap Add to Wallet .
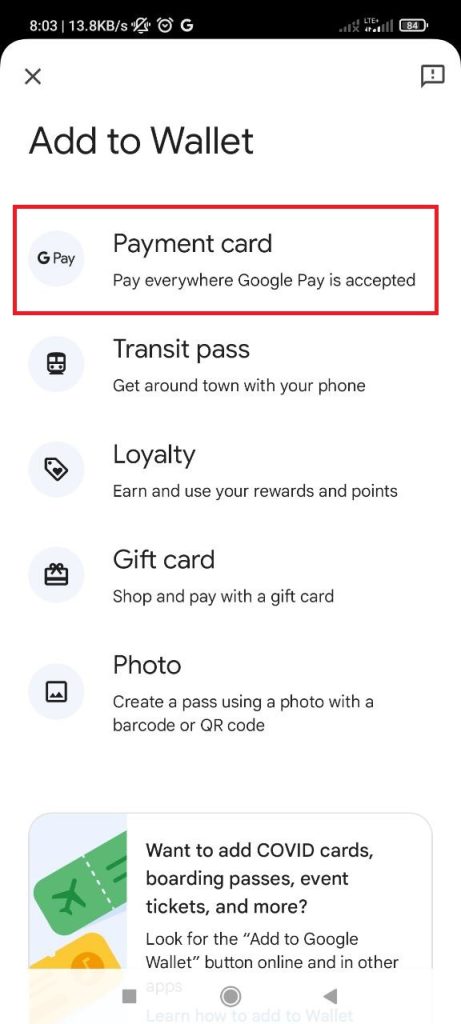
- Tap Payment card. …
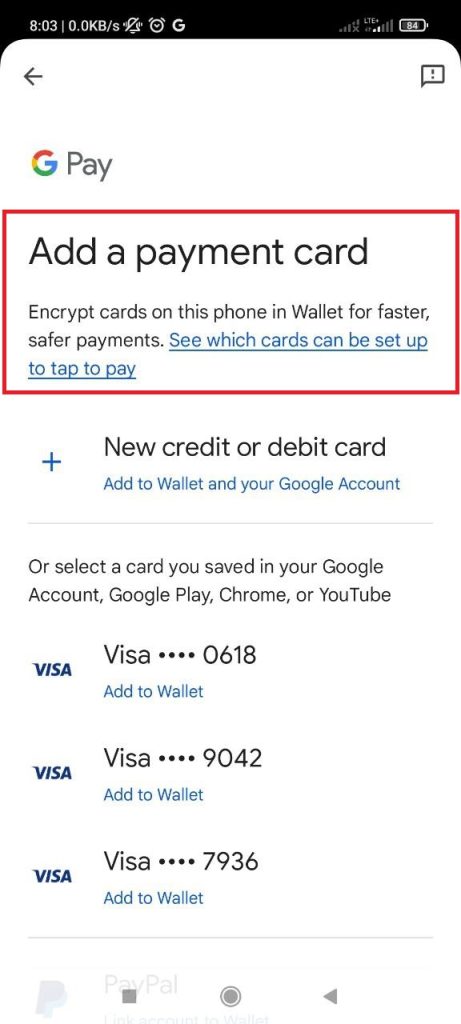
- Tap New credit or debit card. …
- At the bottom, tap Save and continue.
- Read the Issuer Terms and tap Accept.
- If you’re asked to verify your payment method, choose an option from the list.
How to use BridgeBit
If you head over to the official Bridge Bit Website, you will find a Coin Swap button left of our logo, or simpy press here.
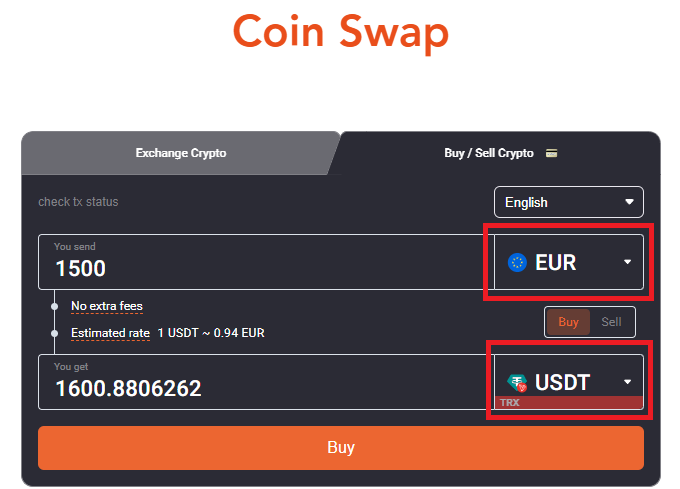
Now switch to the BUY/SELL CRYPTO tab.
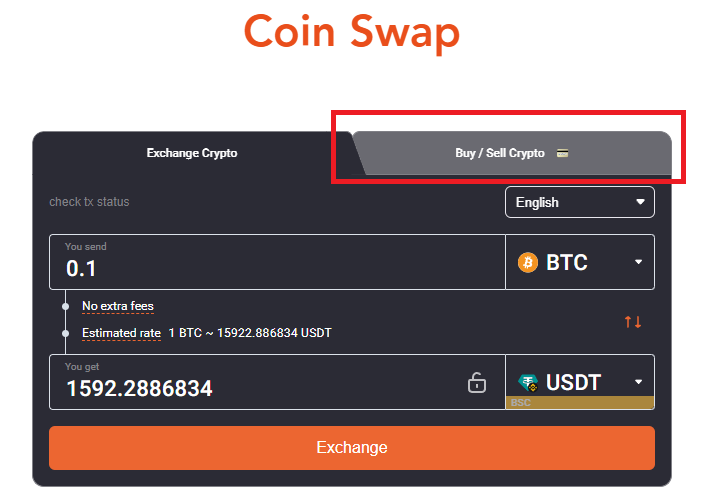
Choose your trading pair and click BUY. See the EUR vs. USDT-TRC20 example below:
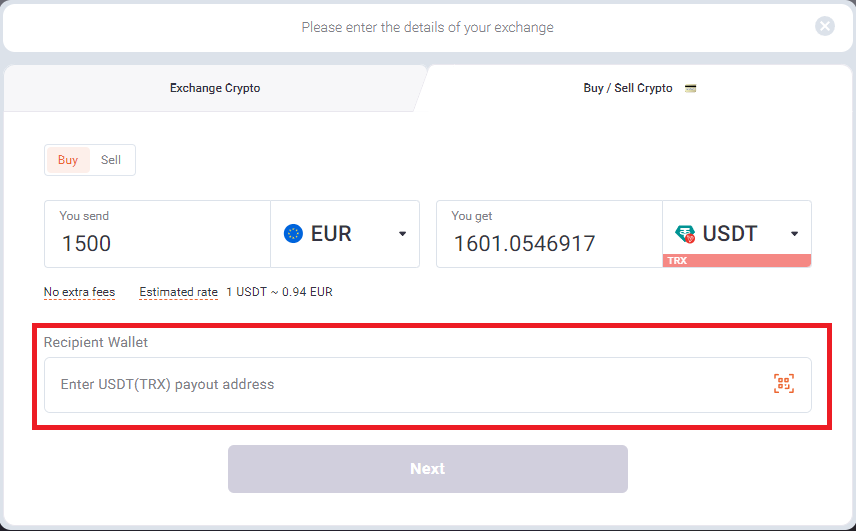
Enter the wallet address you want to receive your crypto to and click NEXT:
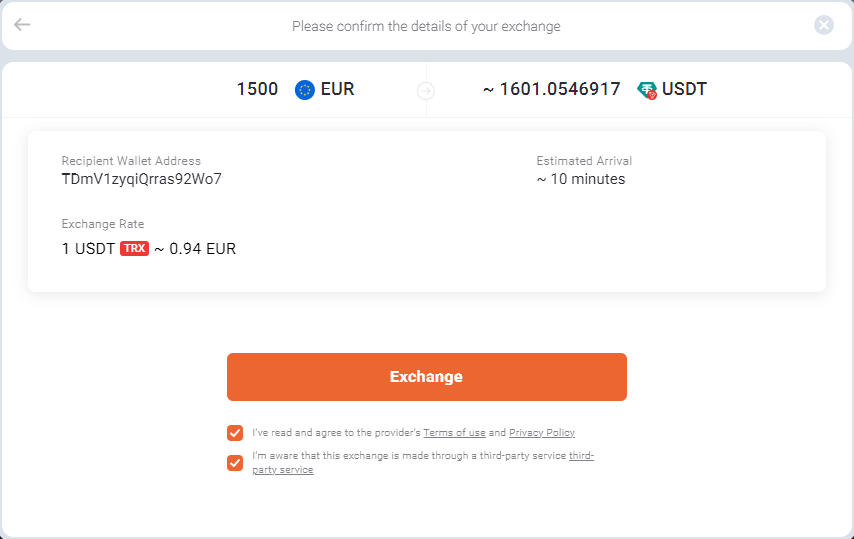
Confirm the exchange:
You will now be directed to the Payment Screen:
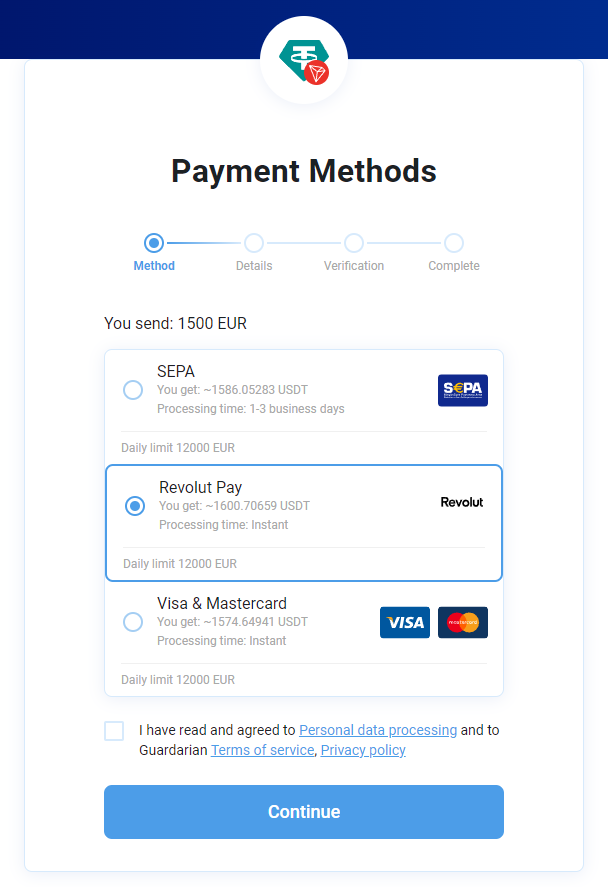
Choose the payment option you prefer, agree with the disclaimer and click CONTINUE.
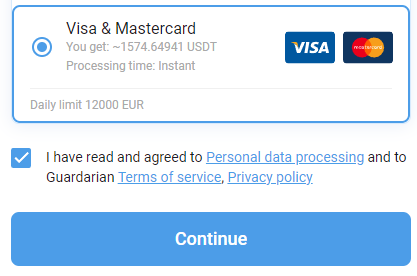
Now you will be asked to fill in your details:
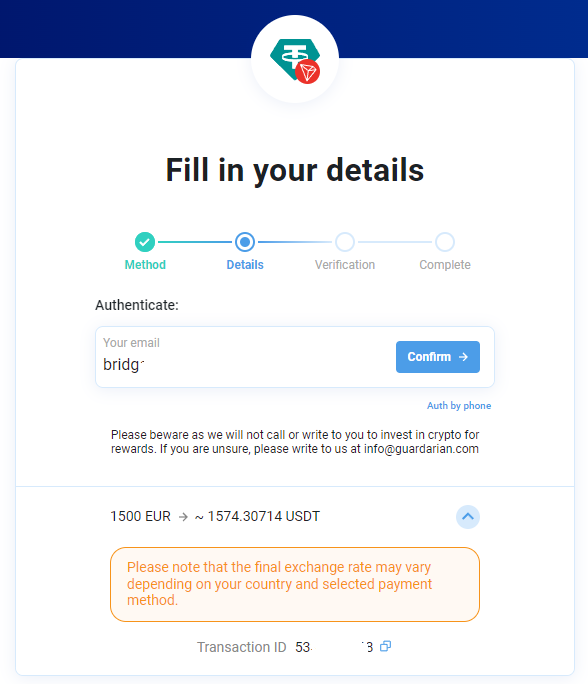
Enter your email address and click CONFIRM.
Now you will be asked to verify your identity.
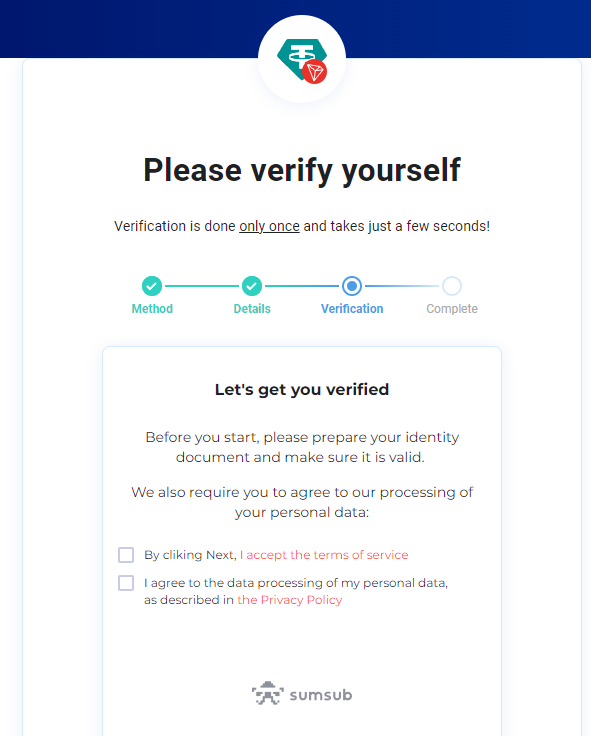
Accept the TERMS OF SERVICE, the PRIVACY POLICY and click NEXT.
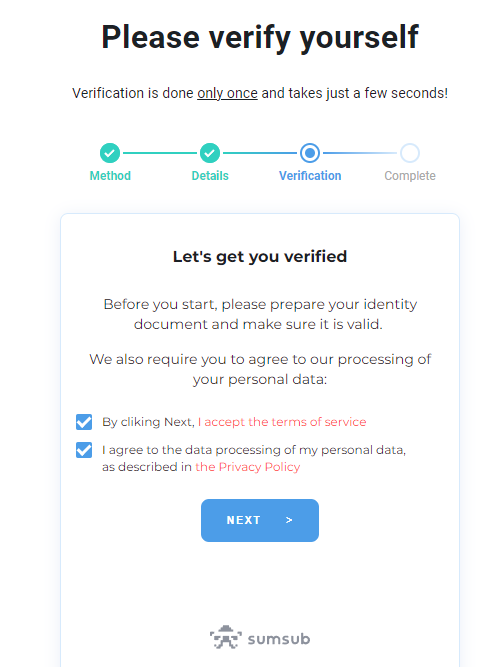
Go through the steps. First enter your country.
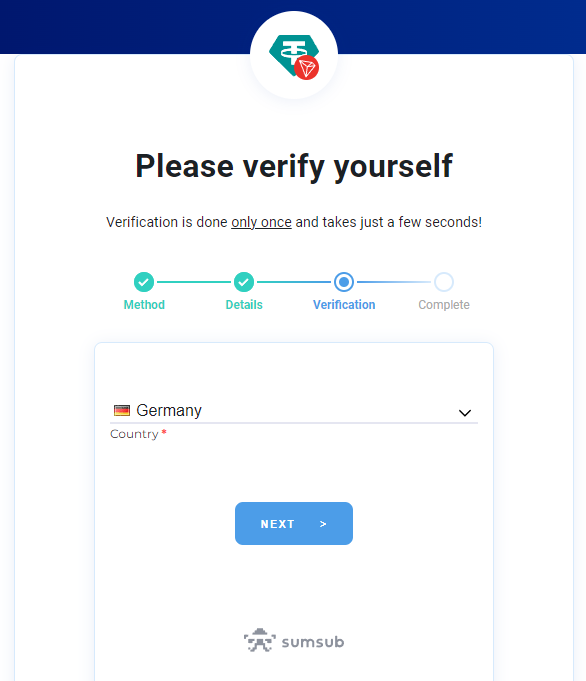
The most convenient option is to verify yourself using your mobile phone.
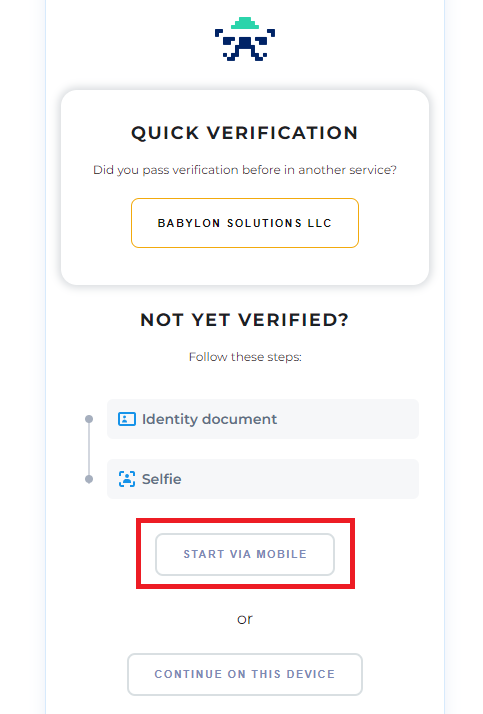
Click on START VIA MOBILE and you will be shown a QR code that you can scan with your mobile phone.
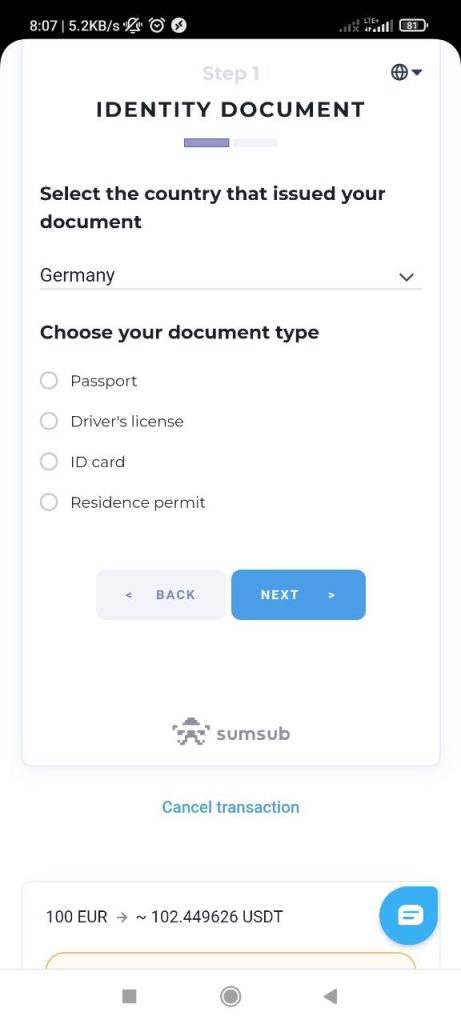
Choose the document you want to use for verification.
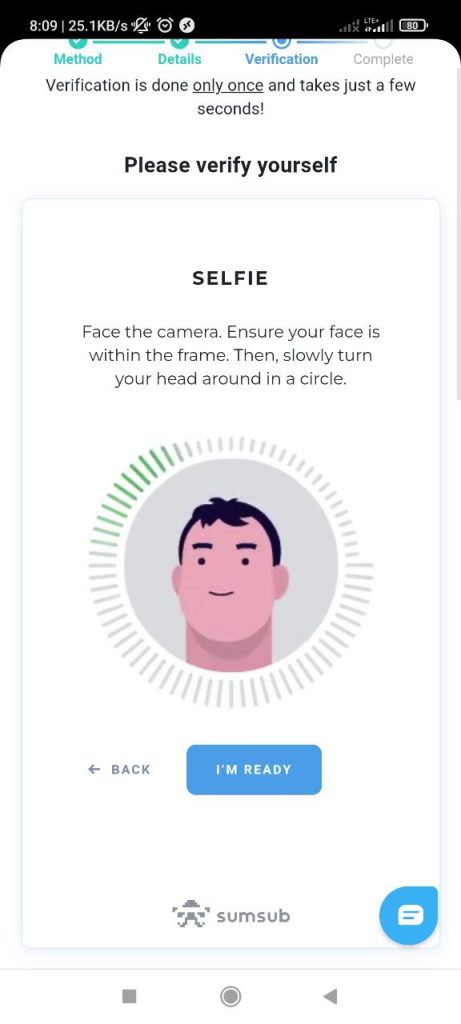
Follow the instructions and do a face scan.
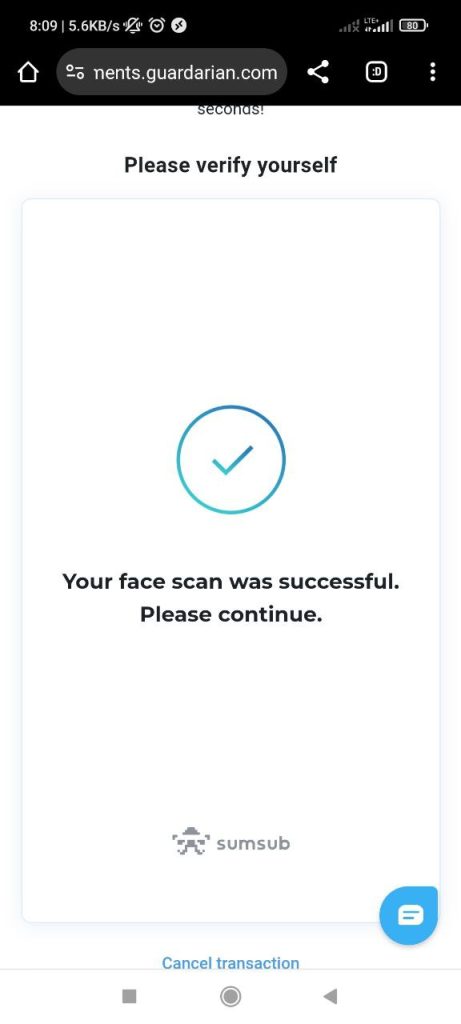
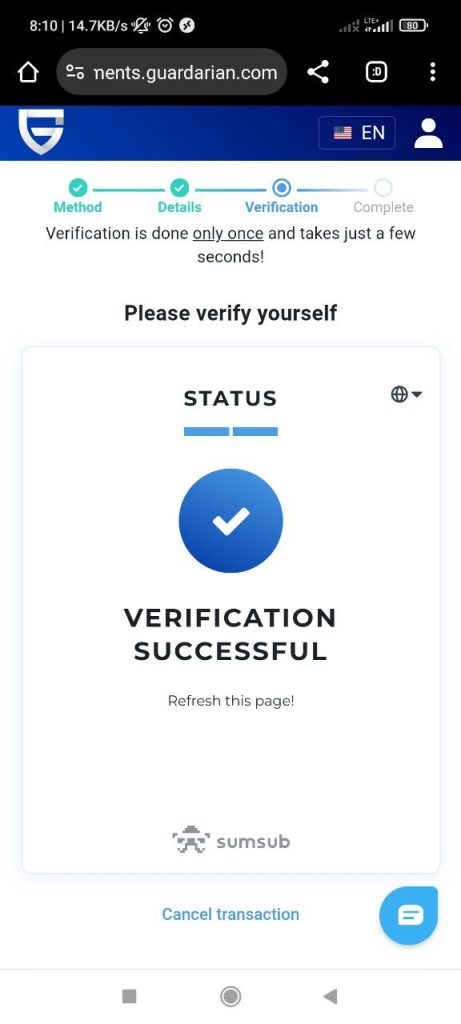
After successful verification the following screen will appear:
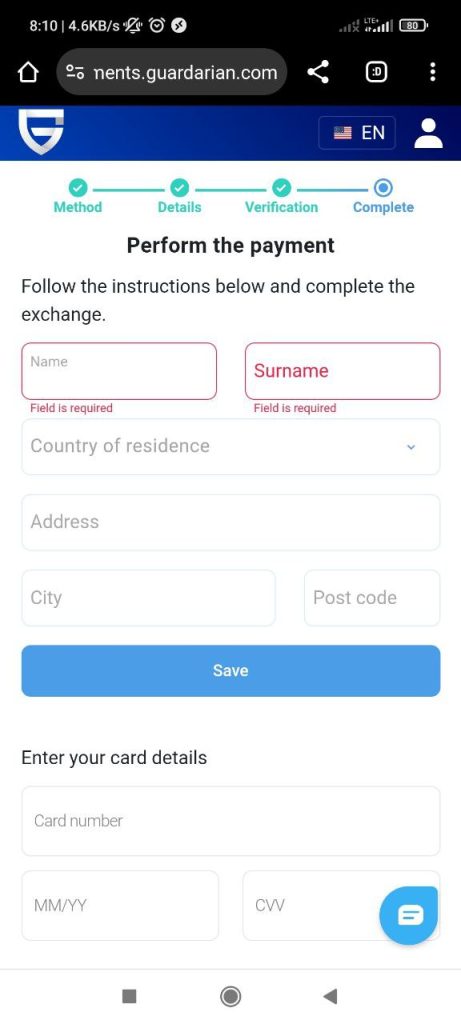
Now you will be asked to enter your payment details.
Confirm your payment.
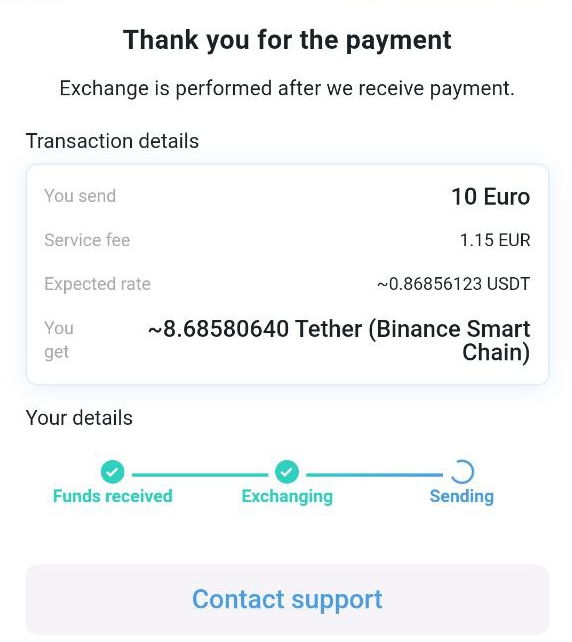
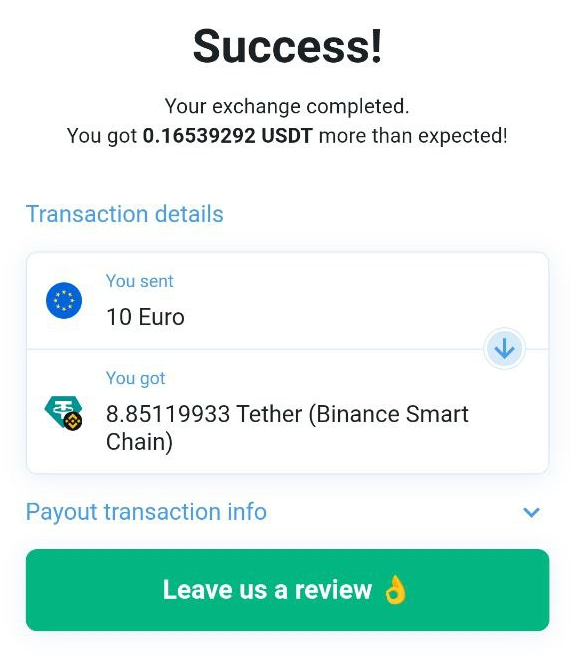
After you have submitted your payment details it will take a few minutes until you see the following screen:
In the following we will show you how to bridge your USDT from the Tron blockchain to the BSC (BInance Smart Chain) blockchain.
You will find the bridge in the Coin Swap section.
Or simply press here.
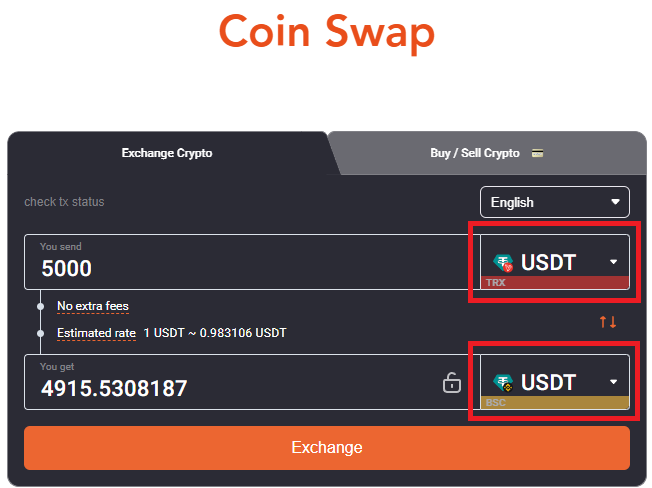
Choose the trading pair. In our example we want to convert USDT-TRC20 to USDT-BEP20.
Click on the EXCHANGE button.
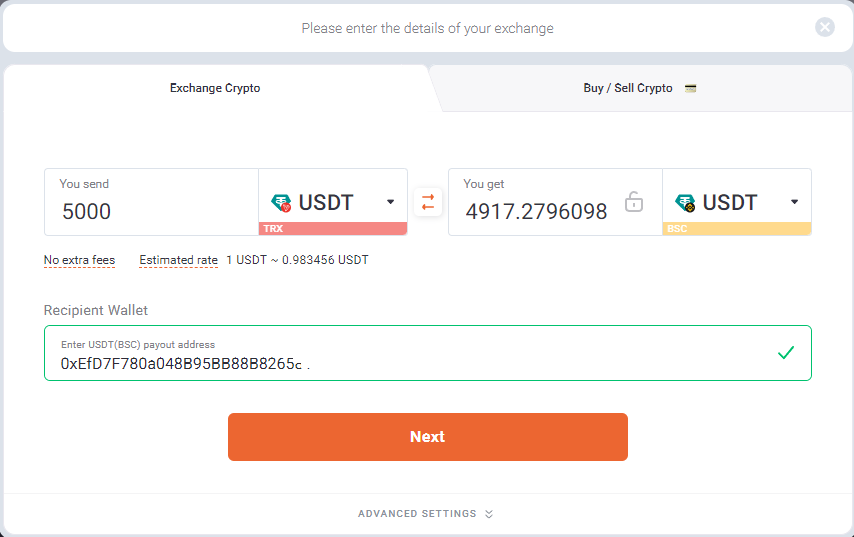
Enter the Recipient Wallet address (BEP-20) and click NEXT.
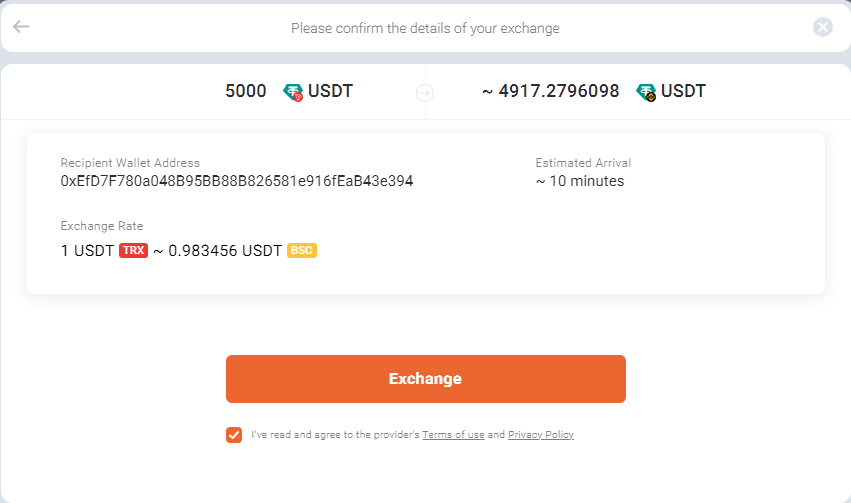
Agree with the disclaimer and hit EXCHANGE.
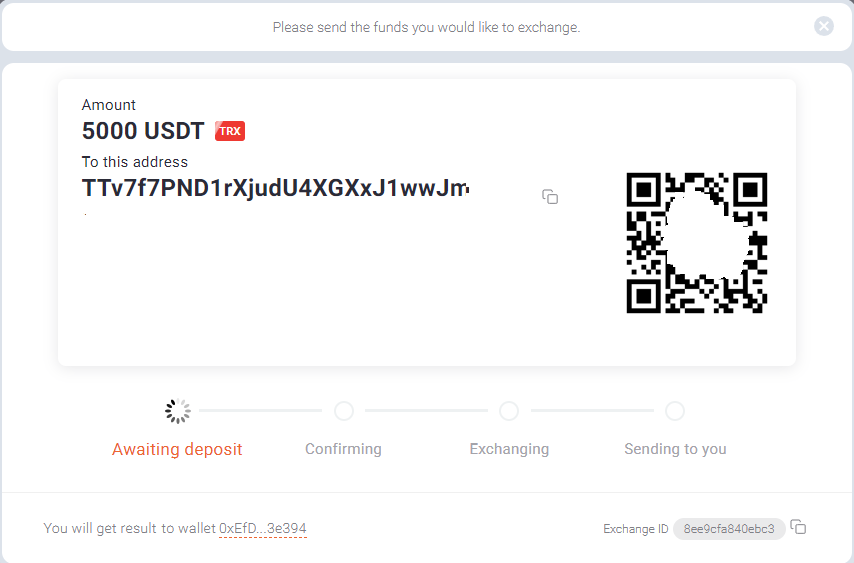
Send the exact amount shown in USDT-TRC20.
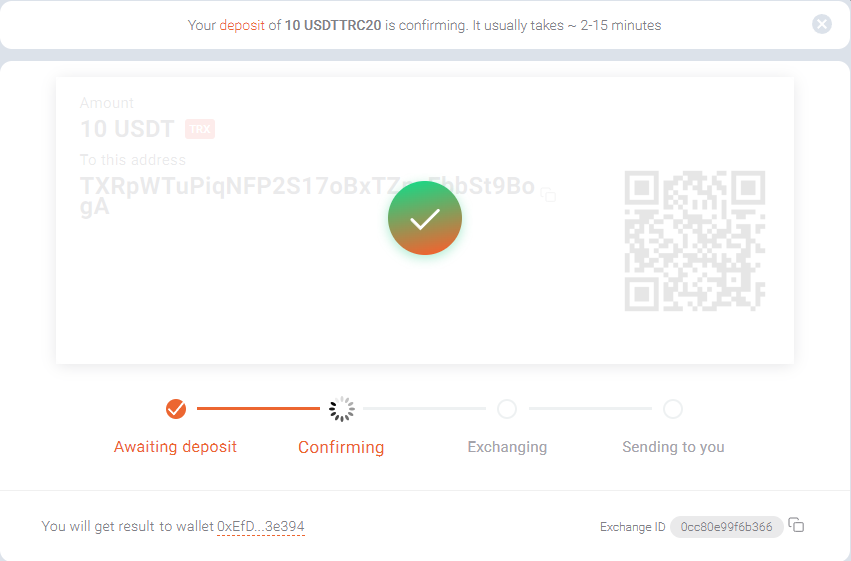
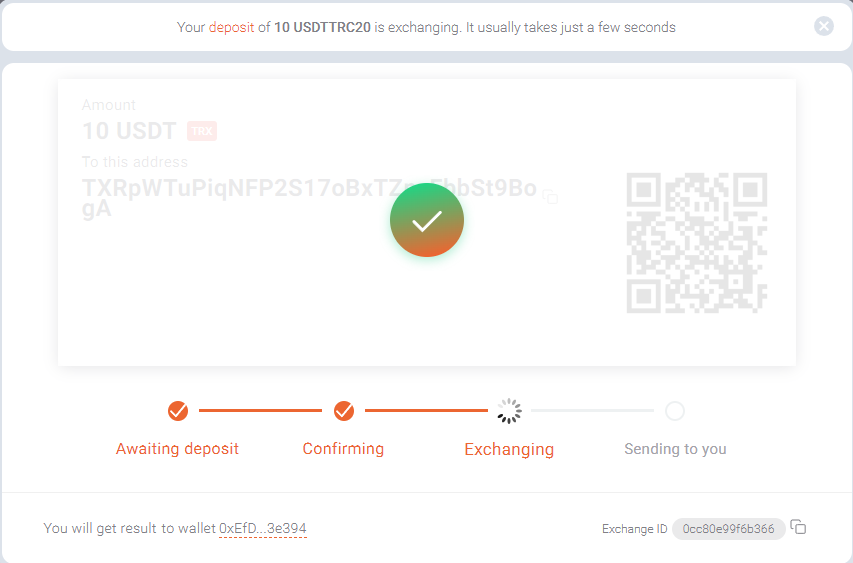
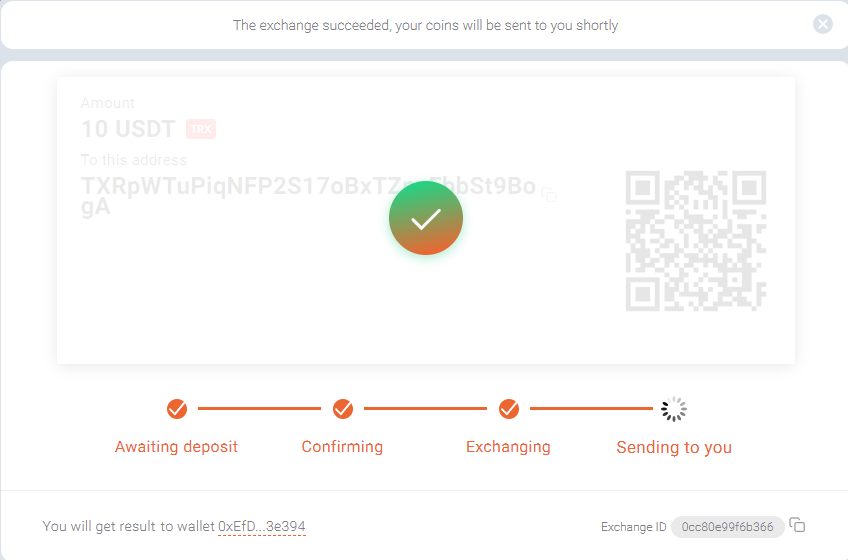
After Confirming and Exchanging, your funds will be sent to you.
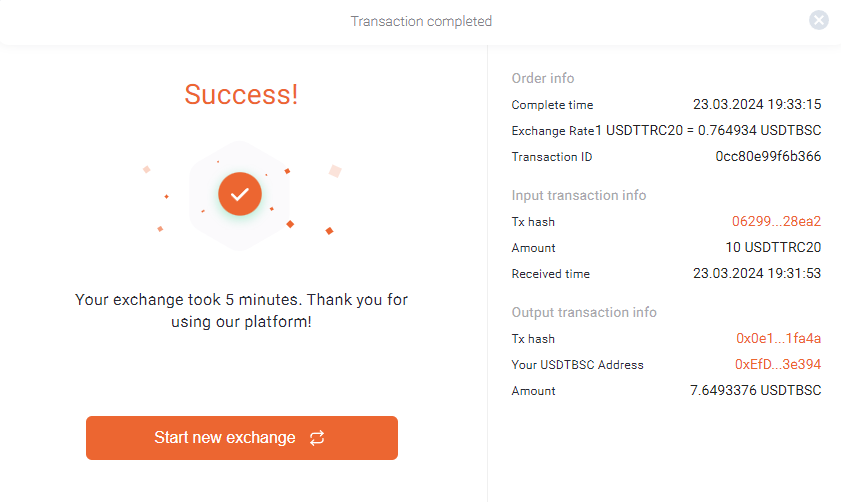
You will now be shown all the details of the transaction.